I use CorelDRAW X4 to make Windows Media Player (WMP). But I thinks, its the great design i ever made.
User interface software is increasingly attractive. Especially multimedia software. It's not an easy thing to make the concept of a graphical display interface of a software.
This time I'll teach you to try to make the interface of Windows Media Player, in the following way.
1. Open a new document CTRL + N to the size as you wish.
2. ![]() Use Rectangle Tool (F6) in the toolbox (left side of paper. Create a rectangle the size of the free or customized image that will be created. Make the corners to be "rounded corner" with
Use Rectangle Tool (F6) in the toolbox (left side of paper. Create a rectangle the size of the free or customized image that will be created. Make the corners to be "rounded corner" with![]() “Shape Tool”. Then, with the "Fill the Fountain" (F11).
“Shape Tool”. Then, with the "Fill the Fountain" (F11).
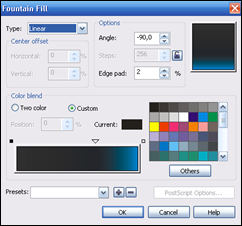
Give color gradations as in the picture or to make it easier you can use the Interactive Fill Tool (G) to modify the color. To use the Fountain Fill dialog, you can see how like in the picture.
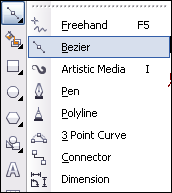
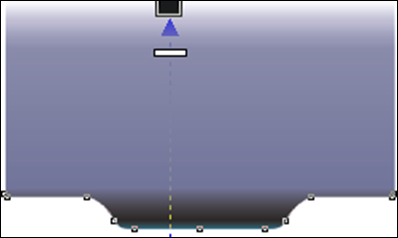
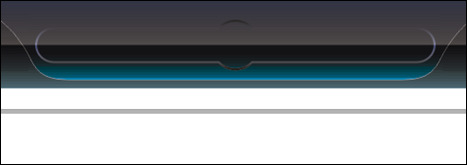
3. Create another rectangular object with a blunt angle, with a smaller size with the previous object. Then, create objects like in the picture with the "tool or Bezier Pen Tool".
4. Then duplicate the object that you created earlier with the Bezier tool, as described in the picture. Make a merger process with the operation "Weld". Once again, combine the objects as in the picture.
Then give color gradations with Fills Fountain Fill Dialog tool Interactive like in the picture or to suit your needs. Then give outline white (white right-click on the "Color Palette") with a thickness of 1.5 pt.
5. Align objects that you created earlier (second selection, press E, then press C), and give a transparent effect with "Transparency Tool".
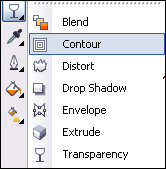
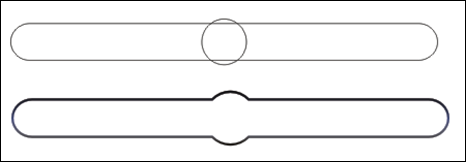
6. Create another rectangle with "Full Rounded Corner (score 100 in property arch bar). Give contour effects with low-level thickness. Separate object contour with the original object CTRL + C or right click, select "Break Apart Relief Group"
Then "Convert to Curves" CTRL + Q both the object. Perform operations![]() “Trim”, and remove the front object. Color as in the picture.
“Trim”, and remove the front object. Color as in the picture.
Then put it like in the picture.
7. Create another rectangular object "full rounded corner" and a circle, with the process and the same coloring as in the previous step. Put like in the picture.
Use the operation "Weld" to combine images.
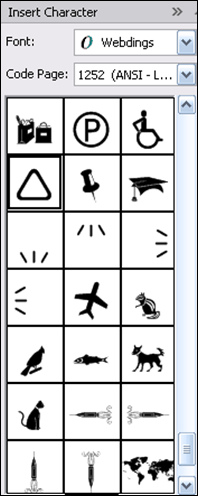
8. Make a symmetrical circle and triangle, and ellipses as in the picture. Circle colored with gradation process mode "Radial", and elliptical objects placed above the circle object, and then given a transparent effect. For the triangular object in the form of the Play button, you can retrieve it from the font "Webdings" in the "Symbol and Special Characters" (CTRL + F11).
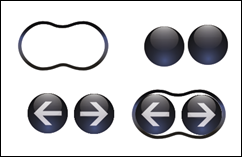
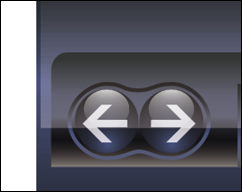
9. Next, create Rewind and Fast Forward as in the picture (icon Rewind, can be found in the font "Webdings"). Give gradation coloring process. Perform process contour effect, would give the impression arises, then separate the original object. (CTRL + K), and give the dye as in the picture. Put the key objects you have made appropriate position in the picture.
You can add the icon objects as supplementary media player. Some of the icon can be found in the font "Webdings" and series "Wingdings". Or you can create your own.
10. Making the slider, using the object and gradation coloring process similar to making the previous objects (step and the same principle). Just kind of color are modified. Similarly, on some other key object, you only need to duplicate the round keys that have been made, and modified slightly with the process and the same step.
11. Make a rectangular object such as in the picture with color gradation through the process "or the Interactive Fountain Fill, Fill Tool". Modifications to the object and text as the bookmark panel.
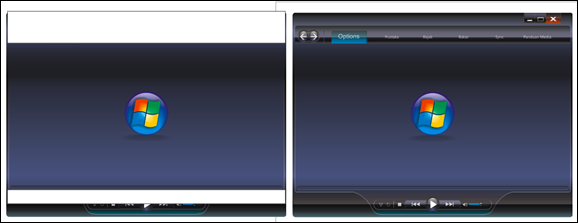
12. To add a glossy effect, create a rectangle object on the top layer, then give a transparent effect. For more details, see the picture.
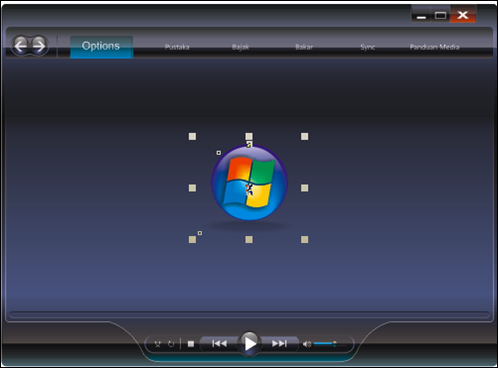
13. Finished making their own version of media player, and you can add the object "shadowing" or other icon for the beautiful view, with the principles and steps that have been described.
Enjoy…










0 comments:
Post a Comment