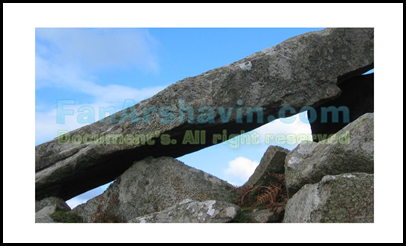
In this tutorial, I will show you How To Make Overlapping Objects like my pictures above. This simple tutorial, but need much concentration to make the overlap. But, don't worry I will gave you the best learn.
GETTING STARTED
Tutorial Ingredients
Minimum Programs: Adobe Photoshop CS2 (This tutorial using Photoshop CS5)
Difficulty: Light
Duration: 25 minutes
Resources
None
STEP 1
Open your Photoshop.
STEP 2
Click File > Open and choose your images.
STEP 3
Unlock your Background Layer, double click and give it name.
BEFORE UNLOCK

AFTER UNLOCK

STEP 4
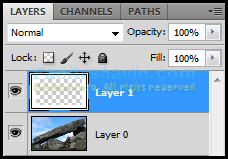
Create new layer, choose Layer > New > Layer, and choose Rectangle Marquee Tool , create a square.
Like this…

STEP 5
Then invert the selection, choose Select > Inverse or Shift + CTRL + I.

Then take Paint Bucket Tool and fill it with White.
Like This…

STEP 6
Then move pictures layer under Background Layer.
BEFORE MOVE

AFTER MOVE

STEP 7
Click Pictures layer, choose Select > Reselect (Select > Select again), and create a Layer Mask, Layer > Layer Mask > Hide Selection (Layer > Layer Mask > Hide the selected area).
You should get like this…

STEP 8
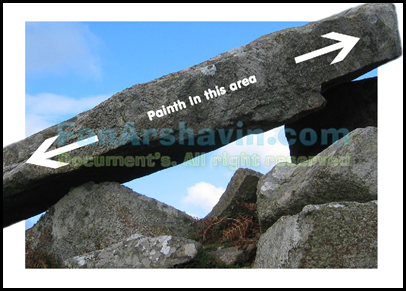
Now, select the Layer mask, and click Brush Tool , with white brush and start painting in some area (example: rock).
Like this… After painting…

STEP 9
After this step, we give the rock a shadow effects, create 2 new layer, place it between Background Layer and Pictures Layer.
Like This…

STEP 10
Take Brush Tool and make sure with black or white color, start painting on the region you want to do the bulk.
Like This…

STEP 11
Then, choose Filter > Blur > Gaussian Blur, and set the following settings, do the same with other Brush Layer.

FINAL STEP
To make it natural, move the shadow. And if all step not missing and true, you get like this pictures.

Download Overlapping Objects File.zip


0 comments:
Post a Comment